

There’s almost nothing worse than finding the video you’ve been looking for, but it’s quality is terrible.
People could be finding your videos and thinking this very thing! Having a video in HD quality (720p minimum) is proven to increase total views, subscribers, and viewer retention. Problem is though, having super high quality videos can be harder said than done. Stick around though, because I’m going to teach you how to export 1080p videos in Adobe Premiere.
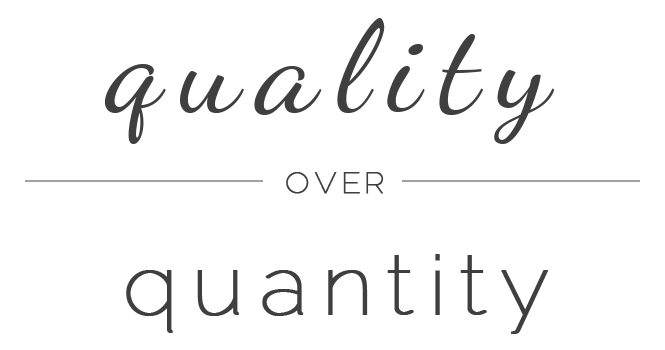
Quality Is Key
Just like I’ve preached many times before, quality is better than quantity. You can release 100 videos a day, but if they suck people won’t watch them. People will watch 1 video a day if it’s high quality.
Quality is more than just useful information or entertaining content though. It can go back to the literal quality of the video!
The Must Do’s Of HD
You can’t just make any video you want into 1080p. Well, you could, but some of the time it just won’t look the part because it wasn’t initially intended to be produced in that resolution.
In order to insure the best looking HD, you must do the following things:
- Record at a resolution of 1920×1080 for 1080p, at least 1280×720 for 720p. This will drastically help with maintaining your aspect ratio, thus improving overall visual appeal.
- Take note of the FPS you’re recording at (standard is around 30) as this will be important for later.
Great! Now you’re on the right track to begin rendering at the best quality for you.
Beginning The Export Process
Once you’ve got your video all edited to how you like, go to the top left of the program and click file > export > media (or hold control + m for a shortcut). From here, set your format to H.264, and your preset to YouTube 1080p.

At the bottom you’ll see 5 tabs – Filters, Video, Audio, Multiplexer, FTP. You’re mainly going to want to worry about Video and Audio.
Click on video. Check to make sure your width and height are set to 1920×1080 for 1080p. Change your frame rate to whatever you recorded your video at. If you’re not sure, just set it to 29.97. If you recorded at either 24 or 25 FPS, still set it to 29.97.

Scroll down a little bit until you see “Render at Maximum Depth” and check the box beside it. Just below this option, change “Bitrate Encoding” to be “VBR, 2 pass“. Just outside the box you’ll see “Use Maximum Render Quality“. Go ahead and check the box beside that as well.

Alright, now we’re done with the video settings. Click on the audio tab to the right, and scroll down a little bit until you see “Bitrate Settings”. I recommend changing this to 192 KBPS, but if you recorded your audio in a higher quality you can bump it up to as high as 320 KBPS.
Great! Now you’re all done setting up your settings. You can now either click the “export” button and Premiere will do the rest, or you can click on the “save preset” button to the right of presets for future use. Alright, now go ahead and export your video.
Conclusion
Exporting your video correctly in a good quality can be harder said than done, so hopefully I helped to clear things up.
Premiere can be a hard program to learn, so if you have any other tutorials you’d like to see let me know in a comment down below!
HD videos are just one way to increase your channel’s popularity on YouTube. Did you know that how long someone watches your video drastically affects how your video ranks? Learn how to increase viewer retention to get better results on your channel.